Showing posts with label Baby 0-3. Show all posts

Thursday, November 21, 2013

Baby Bow DIY


This past two weeks have been...well, that's a whole lot of blog posts that are in the making. In the mean time, here's an idea I tried out today.

Lady Bug doesn't have much hair on top, except for a long patch on the top that reminds me of Alfalfa from The Little Rascals. I love ribbons and bows, but the headbands I have are either too small now or still too big. So I made a little ribbon bow and stuck it on a sticky Velcro dot . (I love those things!) I cut away the extra and stuck in on. Doesn't it look cute?!

Thursday, October 31, 2013

Baby Ladybug Costume DIY

aka Why you shouldn't wait until Halloween to dye a costume.

She really likes grabbing the tu-tu fluff!

So for her first Halloween Lady Bug was....a ladybug! I've had the idea for this costume since the ultrasound pregnancy test over a year now.  I purchased everything I needed almost two months in advance....and didn't put it all together until a few hours before it was time to trick or treat. And it was too cold to trick or treat in her costume. Sigh. I should have made it on a black hooded jacket like I did with Builder Boy's bumble bee costume. At least she had a cute bear suit she could wear in the cold and we had a church function to show her off in in the ladybug costume.

I made the tu-tu the day before Halloween. (I put the PRO in procrastination.) I followed instructions from treasures for tots and they were wonderfully helpful. It took me less than an hour to make a wonderful looking tu-tu. I tried making tu-tu's (for a friend's daughters) before, cutting strips of tulle from the stuff you get off bolts. That was a disaster and a waste of hours. Thanks to the tulle cutting instructions, also from treasures for tots, I got a spool and with just a little help from Builder Boy had my strips cut in 10 minutes (or less.) Builder Boy loved being part of a "tu-tu making machine."

I used ribbon instead of elastic to make the waistband, so it would have a bow at the back. If you're wondering (like I was at the store) what width of ribbon to use the answer is: whatever width you want for the bow. Because the tulle is so tight on the ribbon that it makes no difference otherwise. Unless it's an extremely thin ribbon. Don't use a thin ribbon.

That day I also made the wings. I made them out of a cheap rectangle of felt I got in the craft section of Walmart for $0.24. I folded it in half, drew the shape I wanted on it, and cut. (Picture enhanced with Paint since you couldn't see the lines in the original picture.) Then I painted black dots on them, first using a q-tip and finishing with a paintbrush.


Water needed to be "steaming hot."
For the body of the costume I purchased a 0-3 month white, long-sleeved bodysuit/onsie and a packet of Tulip black dye. I followed the instructions exactly, and it came out gray, not black. Because I made it the day of Halloween I did not have time to go back to the store and get another dye packet and re-dye it. If you do this I suggest purchasing two packets and going through the dyeing process a second time. They are only $2-3 each, so it's not too expensive.

This is not the color I was looking for.


Once it was dyed and gone through the wash (as per the instructions) I quickly sewed on the top of the wings to the back of the onsie. Tie the tu-tu around the waist and you've got one adorable ladybug.

Total cost: ~$10.


(Even though I did not finish writing this post until November, I am post dating it to October for easier access in the archives.)

Monday, September 30, 2013

Lady Bug is Two Months Old!


Here's month two of the month-by-month pictures inspired by Pinterest.

The 9 month sleeper still looks rediculusly too big for her and the teddy bear looks a little bit smaller. She smiled and tried to coo at the bear when I placed him in front of her.

 The dress was made by her grandmother. I'm calling it The Princess Dress.

Starting to learn how to smile?


Wednesday, September 18, 2013

Slow and Steady: Week 5

For Age 0, Week 5 of Slow and Steady Get Me Ready the activities include introducing mirrors to your baby and pendulums.

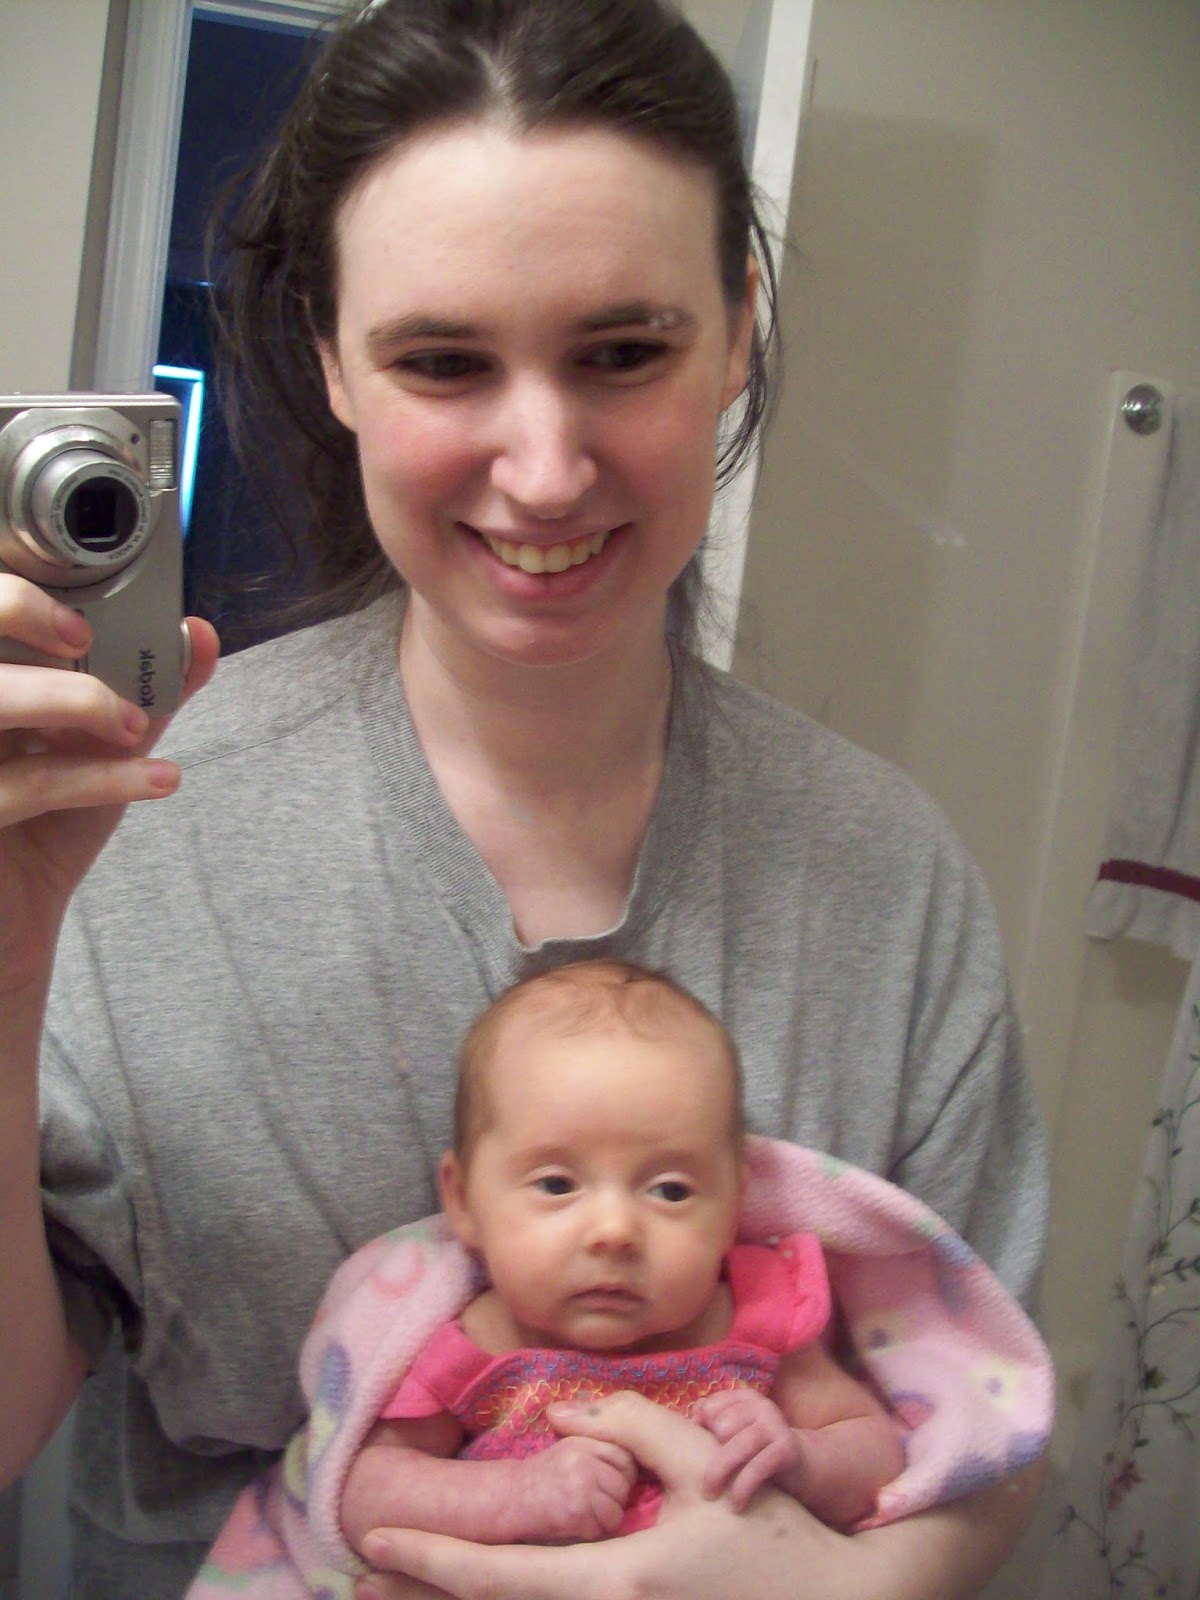
The book recommends using an unbreakable baby mirror if you have one. I do, but after two boys playing with it over the years (as well as using it to bend light for a science lesson) its surface is so marked and scratched that the image is too distorted. So I held Lady Bug up to the bathroom mirror instead. She seemed more interested in the lights above the mirror, and didn't really respond to her own reflection. But she did seem to recognize me, which was nice. I took a "selfie" of us since I'm trying to be in more pictures this year.

For the pendulum activity I used the pvc pipe baby gym we made last week. I put the rattle and the spool to the sides and tried just swinging the foil circle side to side. Lady Bug was not interested at this time, though she has been enjoying the baby gym for a few minutes at a time this week.

This is a reminder that just because an activity is in a certain week it doesn't mean that an individual child is going to be ready to participate that week. For example, Lady Bug wouldn't follow a rattle with her eyes, a Week 3 activity, until after we'd been trying every other day or so for two weeks. She also took about two weeks before she was interested in following the flashlight light on the wall from Week 2. That is one of the reasons why the author reminds you at the end of each week (so far) to continue doing the activities.

________________________________________________________________
Slow and Steady Get Me Ready has a preview available at Google Books. It can also be purchased at Amazon.com (the picture of the book is an affiliate link.)

I don't get paid for reviews; all opinions are my own.

Thursday, September 12, 2013

Slow and Steady: Week 4

For Age 0, Week 4 of Slow and Steady Get Me Ready the idea is to build a "baby gym" attached to the crib rails. But Lady Bug isn't sleeping in a crib right now (we're doing a mix of co-sleeping and using the Fisher-Price Newborn Rock 'N Play Sleeper) so we don't even have a crib. And I'm not sure how I would attach the string to a Pack 'n Play/playpen. So I walked around the house trying to figure out what I could use to suspend the objects over my baby using household items when I stepped on my answer: pvc pipe! I realize it's not exactly a common household item, but it's very inexpensive. I borrowed the pieces I used to make this from Builder Boy's PVC Building Set that I made for his 6th birthday. If you are cutting the pipes for the first time (ours are 1/2 in pipes) you might want to make the dimensions differently. I just worked with what we already had.

Day 1 of the activity you hang a red (or hot pink!) spool and let it swing. I chose to tie it low enough that Lady Bug could hit it with her hand if she wanted to. She did end up hitting it several times; mostly just by getting excited and flailing about. She followed the swinging spool with her eyes and head and really seemed to like it; she even smiled! This kept her entertained (and her brothers who wanted to "help") for over 10 minutes.


Day 2 has you add a plastic lid that has been covered with foil. I used a circle of cardboard instead. Lady Bug didn't seem as interested in the baby gym that day as she did the day before.

Day 3 has you add a bell or rattle. This is used to demonstrate some items not making noises when moving, and one that does. I did not have any bells (that I could find. I'm still only half unpacked from the move.) I tried making a rattle out of a plastic spice container and beans, but it didn't make any sound when it swung; only when it was shaken. So I attached a rattle I had bought, but it doesn't make sounds when it's swinging, either!

Lady Bug was not in the mood to play with it this morning. We'll try again later.

We are are still doing the stretches and touching from Week 1 every day and once every few days try to do Week 2 and Week 3.


Wednesday, September 4, 2013

Slow and Steady: Week 3


This week for Slow and Steady Get Me Ready Age 0, Week 3 we started trying to get Lady Bug to follow an object with her eyes and/or head. Our chosen object, a bunny star rattle that came with her bed did not interest her enough. We tried for several days, in different ways, but she just wasn't interested in it. She was, however, interested in her brothers' faces and followed them wherever they go. She also really likes looking at her musical Soothe and Glow Seahorse that lights up, which is an extension of Week 2. We also stretch her arms and touch her hands every day from Week 1.

We'll keep trying to interest her in a rattle or something. And once we do we will begin left to right eye movement training like the book suggests. 

Monday, September 2, 2013

Preventing a Fear of the Dark

This is something we started with Builder Boy and continued with Early Bird and Lady Bug:

Every time we put a baby in their own room and their own bed we walked into a dark room with them, using only the hall light coming through the door. That way we weren't turning the room light off when we left and our baby wasn't associating darkness with the loss of mom and dad/security. We did this from day one. (They also slept in completely dark rooms with no night light.)

As they got older we also avoided books and stories that are intended to "fix" a fear of the dark because we thought it would give the kids the idea in the first place. And so far, it's worked. Neither Builder Boy who will be 7 in a few months nor Early Bird who is 4 have been afraid of the dark.

Now that the boys are older we don't need to keep doing this with them. But we are doing it with Lady Bug so that she will hopefully avoid a fear of the dark, too.

_________________________________________________________________________
Do you have a tip that resulted in preventing a fear of the dark in your child? Comment and share!

Friday, August 30, 2013

Lady Bug is One Month Old!


Isn't she pretty? :)
I've always wanted to take month by month pictures of my babies, but I was always too tired, busy, or forgot. But I spent a lot of time on Pinterest when I was pregnant and on bed rest and I was inspired by several ideas, so I'm going to try to get it done this time around since Lady Bug is going to be my last baby.


One idea was to take a picture every month of the baby wearing a size 9 months sleeper to show them growing into it and then out of it over the year. The 9 month size sleeper is much to big for Lady Bug; it's hard to imagine her being big enough to fit it!

Another picture idea was to take a picture of the baby next to a stuffed animal for scale and to show growth over the year. I wanted to get her a special stuffed animal just for her, but the Walmart down the street doesn't sell just stuffed animals and I couldn't get out to any other stores in time. So I went with a sweet teddy bear that my brother gave my kids when Early Bird was born.


Wednesday, August 28, 2013

Slow and Steady: Week 2

This week was perfect to start on Age 0, Week 2 in Slow and Steady Get Me Ready. (Here's a link to Slow and Steady on Google Books for a preview of some of the activities.) This week is about interacting with light with your baby, giving them an awareness, and seeing if they move to look towards light. Before now Lady Bug avoided light and closed her eyes every time we turned a light on when it was dark in a room. But this week, since she's been more awake at times, she has started looking towards the bedroom window with light coming through while on my bed. I haven't used a flashlight in a darkened room yet as when our rooms are dark, she's usually (hopefully) asleep.

We are also continuing the movement activities from Week 1, as well as my own "Mommy Has, Baby Has" activity mentioned in that blog post. This week she rewarded our efforts to teach her to reach out and touch us by reaching out and touching Builder Boy! (I think she likes him better than she like me.) It was really sweet and whenever he is in her sight range she moves her head to look at him. They certainly have a special connection, which is beautiful to watch. Today she reached out and touched me, too, on the face, so I don't feel so left out.

We are also trying to make sure she has a few minutes of Tummy Time every day or so. Yesterday she pushed up and rolled over to her back, but I'm not counting that as "official" yet.

Slow and Steady at the end of Week 2 also reminds parents to introduce their babies to music, through humming, singing, or playing music. The Well Trained Mind by Susan Wise Bauer recommends singing the ABC song every time you change their diaper, just to be in the habit of it. For those who don't like to sing often, I have a playlist on Youtube of my favorite Piano Guys music for babies. Lady Bug seems to like them, and the boys love watching the videos, too. In fact, the video with the open piano had Builder Boy asking how many stings are in a piano (it varies by the type, but there are many more than I thought, according to this Piano FAQ site.) It inspired us to get out our Story of the Orchestra book.
________________________________________________________________________
This blog post contains some Amazon affiliate links and some non-affiliated links. The link for the Well Trained Mind is to the author's publishing company's page. The picture here is to the Amazon.com listing. Pictures of products are also Amazon links.

I don't get paid for reviews; all opinions are my own.

Wednesday, August 21, 2013

Slow and Steady: Week 1

I purchased Slow and Steady Get Me Ready by June Oberlander sometime when Builder Boy was around two years old. It is a really cool concept, with an activity to teach your child something using (ideally, but not always) household items. There is an activity for every week of life starting at birth and going to the child's 5th birthday. I never did every week's activity with Builder Boy, but rather picked out what activities I liked, and used it to give me a good idea of what was developmentally appropriate. When Early Bird was born, there were so many things going on with him being in the NICU, and then just dealing with being home with an undersized newborn and a two year old that the book got forgotten about. But I always loved the idea of it, and I've got one last baby here, so I'm going to try to go through the book's activities week by week with Lady Bug.

This is the week that Lady Bug was supposed to be born. That puts her gestationally at 0 instead of negative numbers. I guess I had forgotten from when Early Bird was a preemie, but the nurses told us that preemies need 22 hours of sleep a day. Which means if she's not eating, she's usually asleep. I have to admit, it makes her pretty easy to take care of most of the time. Aside from the fact that her tummy is so small that she was hungry every 2.5 hours in the beginning (including the night time.) I am not sure when her waking time is going to be extended, but this past week she's had 30 minute times of being awake once a day, so now seemed like the perfect time to start.


Builder Boy and Early Bird have been so looking forward to teaching their baby sister how to do things. Early Bird started singing the ABC song to her when she was still inside me. Now that she's out he's been demonstrating things to her like finger spelling signs and how to sit down and stand up, not realizing that she can't see that far away from her. He's convinced every time she makes a fist that she's signing "a." So I decided to get the boys involved and let them "teach" the book with me.

Age 0, Week 1 is just about observing your baby's movements and helping them come to awareness about both sides of their bodies. The boys tried to get her to grasp their fingers (something they've been all about since they met her.) Then, with my guidance and supervision, they took turns bringing her hands together, and then stretching out one arm or leg at a time. We will do this for 5 minutes a day for this week.

I have also been spending some time with my face close to hers and moving her hands to reach out and touch my face. I also do something I call "Mama's Face, Baby's Face." While saying "Mama has a nose" I touch my nose; then I say "and (Baby's Name) has a nose" touching the baby's nose. I repeat that with ears, eyes (I touch the corners of the eyes,) cheeks, chin, and mouth. This is something I did with Early Bird (I can't remember if I did it with Builder Boy or not.) I do the say order every time I do it so it not only teaches the names of the parts of the face but also teaches the baby to anticipate what will happen next. Early Bird loved this and would open his mouth really big when it was that part of the routine.

Friday, August 16, 2013

Preemies and Car Seats

We had already had a preemie so we thought we knew everything we needed to know about preemies. We were wrong.

Apparently a lot of car seats are only rated safe for babies 5 lbs and up. And if you have a baby coming home who is less than 5 lbs and your car seat is a 5 and up one the hospital will not do the car seat test with your baby and they will not let you come home with her until you have one rated safe for 4 lbs and up. Our last preemie was 5 lbs when he came home, so this didn't come up last time. But it did this time. So we ended up having to buy a new car seat instead of using the one a friend had given us.

My advice to parents: if you bought new, don't take the car seat out of the box until you're at least 36 weeks (and hopefully your baby won't be as small as mine) and keep the receipt. If you bought used, reserve some money for this just in case. Or you can just make sure your car seat is rated for 4 lbs and up and not just 5 lbs, thought I've been told that those might be a little bit more expensive and harder to find, as most infant car seats are only rated for 5 lbs and up. We managed to find one at Walmart for less than $80. I really prefer the thicker head support on the one we got than what usually comes on infant carriers.  Looking at Amazon.com, only the Safety 1st car seats like the Safety 1st onBoard 35 Infant Car Seat are rated as safe for 4 lbs that are under $100.

Added later: I'd like to say a few words on the term "car seat." When I see the two terms separately, I think of the seat that comes as part of a car. When I think of the thing that you add on top of a car seat for babies and children, I think of it as one word: "carseat." Spell check, however, does not approve of that term, so I changed all the red squiggliy underlined words to something it didn't protest. But in my heart, it's a carseat. Maybe I should have just used the term "carrier."
_________________________________________________________________________
I am not paid for reviews (unfortunately.) All opinions are my own. This post contains Amazon affiliate links. The Walmart link is not an affiliated link; I put it there because the carrier is cheaper at Walmart than on Amazon.com.
Related Posts Plugin for WordPress, Blogger...