Showing posts with label Recipe. Show all posts

Monday, September 22, 2014

Biscuits and Butter Knife Etiquette


For last week's Art Appreciation Tea Party (which now has it's own tag!) I had several things I wanted to teach the boys. I also was really hoping to try watercress, but alas, it was not to be. At least my other plans worked out.

Wednesday, September 17, 2014

Story of the World: Ancient Times: Chapter 9


Last week we finished reviewing all the chapters of Story of the World Vol. 1 that we did two years ago. This week we started on new material; sort of. See, when we last did ancient India, we only did about half of the chapter. We did the brick experiment the first time around, which was cool, but not something I wanted to repeat at this time. There wasn't much else in the activity guide, so inspired by the memory of Colonel Brandon whispering in Margret Dashwood's ear, "the air is filled with SPICES!" I did some quick Googling and then went off schedule.

Monday, September 15, 2014

German Pancakes: Take Two

For last week's Art Appreciation Tea Party I tried again to do the pancake fruit cups/German Pancakes that facebook used perfect pictures of to taunt me. I found the original recipe: check! No cheap shortcuts. I followed the instructions: check! Well, at least, I thought I had, but apparently using Pam on the muffin tins wasn't the same as "grease well." And the result?

Monday, September 8, 2014

Art Appreciation Tea Party


On Thursday afternoons we have added to our schedule an afternoon tea party at 3:00 at which we will absorb and discuss various forms of art. I can't claim credit for this idea; I've seen it on several blogs, though I don't remember which blog I first saw the idea on. However, I was immediately in love with the idea, but it has taken a few years to actually get to doing it.

Friday, October 18, 2013

5 Minute Microwave Breakfast

 I am not a morning person. I also do not like eating breakfast. But I need to, because I'm not just feeding myself, I'm feeding Lady Bug, too. The boys are pretty self sufficient when it comes to breakfast, so making a whole lot of effort to just make breakfast isn't only impractical, but it's just not going to happen. I take quite a while to wake up. So I need something filling, nutritious, and easy for breakfast. Something yummy enough to get me to eat in the first place.


I love the Pinterest ideas of making things in a mug in the microwave and I figured out a way to cook an egg in the microwave that turned out really yummy.

1/4 cup (or less) water
1/4 teaspoon chicken bullion
1 egg
garlic salt (to taste)

Put everything in the mug and beat it all together with a fork. Then stick it in the microwave for 2 minutes. That's it. The texture is soft and fluffy and very flavorful. I eat it right out of the hot mug, but I put it on a plate (sliced twice) so you can get a better look at it. There is still some broth remaining, so you can use less water and base if you want to. No added fat, tasty egg!

This by itself does a surprisingly well job of keeping me full for a while. But it's not enough to produce enough milk for Lady Bug, so I prepare oatmeal while the egg is cooking. Since it's fall I put together:

minute oats
brown sugar
cinnamon
cloves
applsauce
drizzle of water

This seriously tastes like apple pie for breakfast.

Together they take only 5 minutes to prepare and cook. I use two dishes and no pots or pans. Easy, tasty, and a complete meal.


Thursday, August 29, 2013

Reese's Peanut Butter Cups Cake

*WARNING! This is NOT an allergy free, gluten free, paleo, vegan, organic, or diet friendly cake!*

I clipped this recipe out of a magazine many years ago so I can not properly cite my source. But this is Principal Daddy's FAVORITE cake ever since I made it the first time and I've made it for his birthday ever since. This year the boys helped make it and I thought I'd share the recipe. (Text in blue are my changes.)

Makes: 16 servings
Prep: 15 minutes
Bake: at 350* for 34 minutes
Refrigerate: 1 hour 

1 box (18.25 oz) devil's food cake mix
3 eggs
1 C buttermilk (or 1 C milk and 1 T lemon juice,  let sit for 5 minutes)
1/2 C vegetable oil
2 C chopped peanut butter cups (about 8 oz,) 
       plus more to garnish 
8 oz dark chocolate, chopped (or chocolate chips)
1 C heavy cream
1/2 C creamy peanut butter 

  1. The first step should actually be to peel and chop the candy. Use child labor; my 4 year old actually did really well, and it's great fine motor practice! Put the peanut butter cups in the refrigerator overnight so that they are cold when you're peeling off the wrappers and cutting them. This makes them much firmer for cutting and makes less of a mess when unwrapping.
  2. Heat oven to 350*. Coat two 9 in round cake pans with nonstick cooking spray. Line with waxed paper; coat paper. (It works fine for me when I just butter and flour the pans. With the waxed paper, the first time I made this cake it ended up with a very strangely shaped cake.)
  3. In a large bowl, beat cake mix, eggs, buttermilk, and vegetable oil on low for 30 seconds. Increase speed to medium-high; beat for 2 minutes, scraping down side of the bowl after 1 minute. Fold in 2 cups of the chopped peanut butter cups.
  4. Divide batter between prepared pans. (It won't look like much batter, but it puffs up when baked. Make sure you spread the batter to the edges as it won't do it on it's own; ask me how I know.) Bake at 350* for about 34 minutes, or until a toothpick inserted in the center comes out clean. Let layers cool on a wire rack for 15 minutes. Turn out cakes onto wire racks and cool completely.
  5. Place chopped dark chocolate in a medium-sized bowl. Bring cream just to a boil and pour over chocolate. Whisk until chocolate melts. Add peanut butter and whisk until smooth.
  6. Trim top of cake layers with a serrated knife. Put 1 cake layer on cooling rack and place on a baking sheet. Pour 1 cup cake layer on cooling rack and place on a baking sheet. Pour 1 cup frosting on top; spread evenly with a spatula. Top with remaining cake layer. Pour remaining frosting over the top, allowing it to spill over the sides. Smooth top and sides with spatula. Refrigerate 1 hour to set. Transfer cake to serving plate and garnish with chopped candy, if desired. 
Per serving: 470 calories; 30 g fat (11 g sat.); 8 g protein; 44 g carbohydrate; 2 g fiber; 365 mg sodium; 62 mg cholesterol. 

Organic Stand Mixer (I grew him myself!)
Organic Mixer Cleaner


Friday, May 10, 2013

Homemade Ice Cream


We did this activity a few days after we made the homemade butter, but I'm only now getting around to posting about it. We had left over whipping cream from the butter to use, and I'd been hearing a lot about doing this and wanted to try it. I got the recipe from Spoonful.com.


You need:
  • 2 tablespoons sugar
  • 1 cup half and half (or half whipping cream, half milk)
  • 1/2 teaspoon vanilla extract
  • 1/2 cup salt (The bigger the granules, the better. Kosher or rock salt works best, but table salt is fine.)
  • Ice cubes (enough to fill each gallon-size bag about half full) (this means about 3 trays of ice cubes per bag)
  • 1 pint-size ziplock bag
  • 1 gallon-size ziplock bag
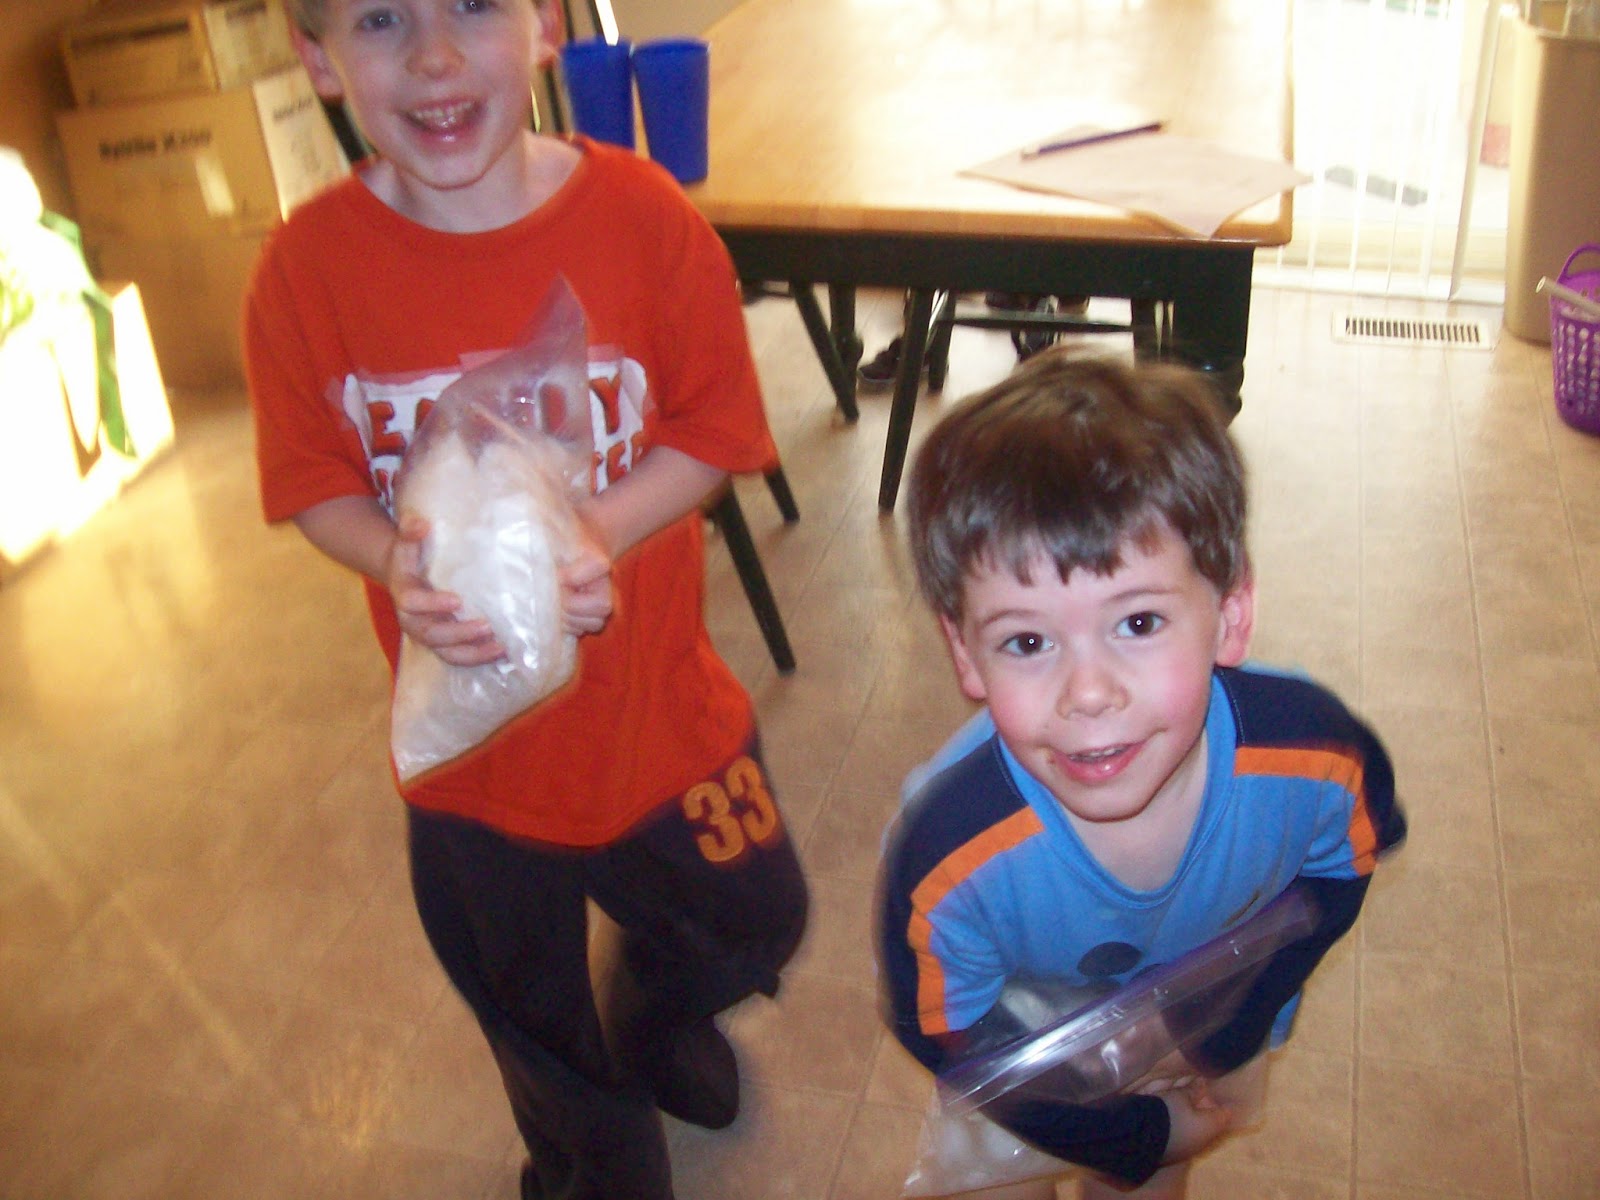
Step 1: Make the ice ahead of time. This project required more ice than I realized it would, so I had to keep putting it off because I kept needing more ice.You can keep the ice cubes in the gallon size ziploc bags while the trays are making more. Plan this ahead of time and start making the ice 2-3 days in advance, depending on how many ice cube trays you have and how much room you have in the freezer.

Step 2: Put the sugar, vanilla, and half and half (or whipping cream and milk, or just plain milk, though 1% does NOT make creamy ice cream) in the bag and seal it. We used regular sandwich bags and we think they leaked a bit because it was a little bit salty. I recommend double bagging, though this will probably mean it will take a few more minutes to freeze.

Step 3: Put the milk bag in the ice bag and put 1/2 cup of salt on the ice. Seal the bag and start shaking it until the milk solidifies. This takes about 5 minutes; longer (probably) if you double bag or don't shake it enough. I've read some families put their bags in the dryer to tumble on no heat. Early Bird didn't last the whole 5 minutes, so Daddy took over his shaking. Builder Boy's hands got cold, so we tried to position his hands so they were holding just the edges, and then he did okay.

Step 4: Once it's ready, take out the small bag and eat right out of it! It's the consistency of soft serve, and will start to melt pretty quickly.

We ran out of whipping cream and had read that you can do it with plain milk, so Daddy tried making it with 1%. It was still ice cream when it was done, but it wasn't creamy at all. But the boys loved that they had made their own ice cream and they ate it up.

Monday, April 29, 2013

Homemade Butter


This is something I wanted to try as a kid, but never got to do. So when Builder Boy started telling me how to do it, based on what he learned watching the Bill Nye the Science Guy episode on farming, and asked me if we could do it, I said "of course!"  Principal Daddy picked up some heavy whipping cream at the store and a few days later we started shaking. I'm not sure if we were suppose to get heavy whipping cream, but Daddy said there wasn't anything labeled just "heavy cream," so this is what we ended up using. I put a small amount in a plastic container with a screw lid because I didn't want to risk the kids dropping a glass jar like they showed on the show, and I thought plastic would make it less heavy and make it longer before we got too tired.

At first the boys had a lot of fun taking turns shaking the container. Builder Boy kept talking about the process. "The cows make the milk, the factory makes the whipping cream, and we make the butter." After a while he made some observations. "This takes a lot of time and a lot of energy."

10 minutes later and no butter. "We need something to make this go faster." What do you think we need? "A factory."


We don't have a factory. I once made butter by accidentally over beating whipping cream, so I suggested using the beaters. "Yes, the beaters will work because the beaters won't get tired!"

A few minutes later and we finally had something that was solid enough that we declared it "homemade butter."  Technically, since we didn't separate the milk fat from the liquid, I don't think it really counts. But that didn't matter to the boys. They just wanted to see milk turn into butter. They were perfectly happy with the product, and it's taste.

Afterwards I told them about churns, and what people had to do before they had factories and electricity in homes. I used the Wikipedia article and a youtube video of a family using an old fashioned churn.


Friday, November 23, 2012

Best Kid Party Drink Ever!


For Builder Boy's birthday party (which we ended up doing on Thanksgiving this year) I made Koolaid ice cubes in the primary colors. Red-Cherry, Yellow-Lemonade, and Blue-Blue Raspberry Lemonade and we added them to Sprite. When the ice cubes melted they changed the color and taste of the drink. This was so cool, and it tasted really good! Everyone liked it a lot. The lemonade ice cubes were not as yellow as I thought they would be, so the orange and green weren't as strong a color as purple, but they still looked neat. Builder Boy wanted vermilion; two reds and one yellow. That cherry-lemonade in lemon-lime soda was my favorite, too. It tasted like a Shirley Temple.

Thank you, Pinterest!

Tuesday, November 20, 2012

A Pinterest Breakfast

I have found a few recipes on Pinterest that I have made several times now. We have to drive Principal Daddy to work some days, so that means getting up the kids who are used to waking up on their own and getting them out the door. Having these muffin tin recipes means I can make ahead something they can eat in the car, which is great.

Baked Oatmeal (link is for the pin):
I tried two recipes and this is the one we like better. Originally from FitnessMagazine.com

Serves 18
  • 3 cups old-fashioned oats
  • 1/2 cup packed brown sugar
  • 2 tsp. baking powder
  • 1/2 tsp. salt
  • 2 egg whites
  • 1 egg
  • 1 1/4 cup skim milk
  • 3/4 cup mashed bananas
  • 1 tsp. vanilla extract
  • 3/4 cup semi-sweet chocolate chips
Preheat oven to 350°. Lightly mist 18 cups in a muffin tin with cooking spray.
  1. Combine the oats, brown sugar, baking powder and salt in a large bowl and stir until thoroughly mixed.
  2. In a separate bowl, whisk together the egg whites, egg, mashed banana, milk and vanilla. Add to the dry ingredients and stir until blended together. Mix in chocolate chips.
  3. Spoon the oatmeal mixture evenly between the prepared muffin cups. Bake uncovered for 18 to 22 minutes or until oatmeal is lightly browned and a toothpick inserted into the middle comes out clean.
I used blueberries in our last 3 batches and the kids love it. I have a small stove so I can make all of them at a time using silicon baking muffin cups. The hearts were on sale after Valentine's Day, and the kids love them. The cups also make it possible to make other breakfast items at the same time (although there are different baking times so some have to get taken out before others.)


Pancake Muffins:
I love this; it is so easy. All you do is mix 1 cup pancake mix, 2/3 cup water, and 1/2 cup pancake syrup. Mix it all together, top with chocolate chips, blueberries, etc. and bake for 12-14 minutes at 350* So much easier than standing at the stove frying pancakes and less mess because there's no sticky syrup! I've also made an applesauce and cinnamon version.


Bacon Wrapped Egg:
Another winner in our family! Originally from the blog Fat Girl Trapped in a Skinny Body. The recipe from the blog is:
First Attempt, both scrambled and whole eggs

Makes 12 cups
12 slices bacon
8 eggs
1/2 cup shredded cheddar cheese
pinch of salt
1/4 tsp black pepper
Preheat oven to 350 degrees.

Whip the eggs, salt, pepper and cheese with a fork. Spray non stick spray in 12 muffin tins. Wrap each piece of bacon inside the sides of each muffin cup. Fill each bacon lined muffin cup 3/4 of the way with the egg mixture. Bake for 30-35 minutes, until the egg cups are golden brown and don’t jiggle. Use a knife to scoop them out of the tins. Serve immediately.

I do it a little differently. When the egg is scrambled/whipped and then cooked it puffs up and we don't like the texture. So I just crack an egg an egg into the muffin cup and it comes out more like a fried egg. We also use turkey bacon.
 

Bon Appétit!

Thursday, August 16, 2012

Pocket/Pita Bread

Pocket Bread recipe from Allrecipies.com 
My Best Ones

Prep time: 30 minutes
Cook time: 20 minutes
Ready in: 2 hours 50 minutes
Servings: 16

Ingredients:
1 (.25 ounce) package active dry yeast (about 2 1/2 teaspoons if you buy it in larger quantities)
2 cups warm water (110 degrees F/ 45 degrees C)  (I just used the hottest my faucet water gets)
6 cups bread flour (I used all purpose flour with an extra T of flour/cup for the extra gluten)
1 T salt 

Directions:
  1. In a small bowl, dissolve yeast in warm water. Let stand until creamy, about 10 minutes. 
  2. In a large bowl, combine the yeast mixture with the 3 cups flour and the salt. Stir in the remaining flour, 1/2 cup at a time, beating well after each addition. When the dough has pulled together, turn it out onto a lightly floured surface and knead until smooth and supple, about 10 minutes. Lightly oil a large bowl, place the dough in the bowl and turn to coat with oil. Cover with a damp cloth and let rise in a warm place until doubled in volume, about 2 hours. Meanwhile, preheat oven to 500 degrees F (260 degrees C). 
  3. Divide the dough into sixteen equal pieces and form into rounds. Roll rounds into square loaves 1/4 inch thick. Place the on ungreased baking sheets. Bake in preheated oven for 4 to 5 minutes, until loaves puff in the middle. Let cool on a wire rack. 
Not all of mine puffed up. My first ones were too thick to puff. I tried to make them very thin after that; some worked, some did not. I'm not sure what I did/didn't do, but it still tasted good.
Related Posts Plugin for WordPress, Blogger...